|
QUAIL HUNTER.COM The Web Site of a South Texas Quail Hunter
|
|
|
QUAIL HUNTER.COM The Web Site of a South Texas Quail Hunter
|
|
|
|
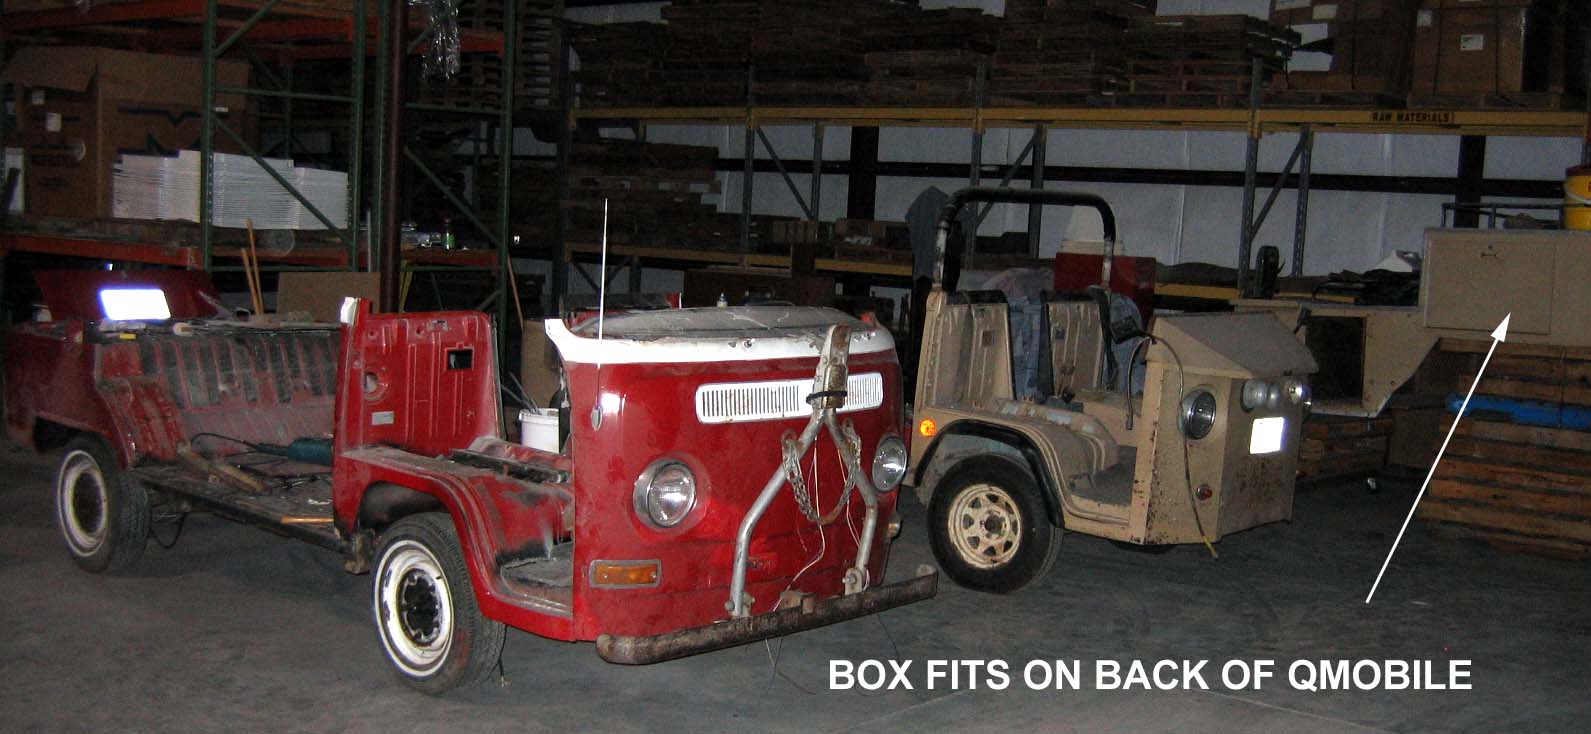
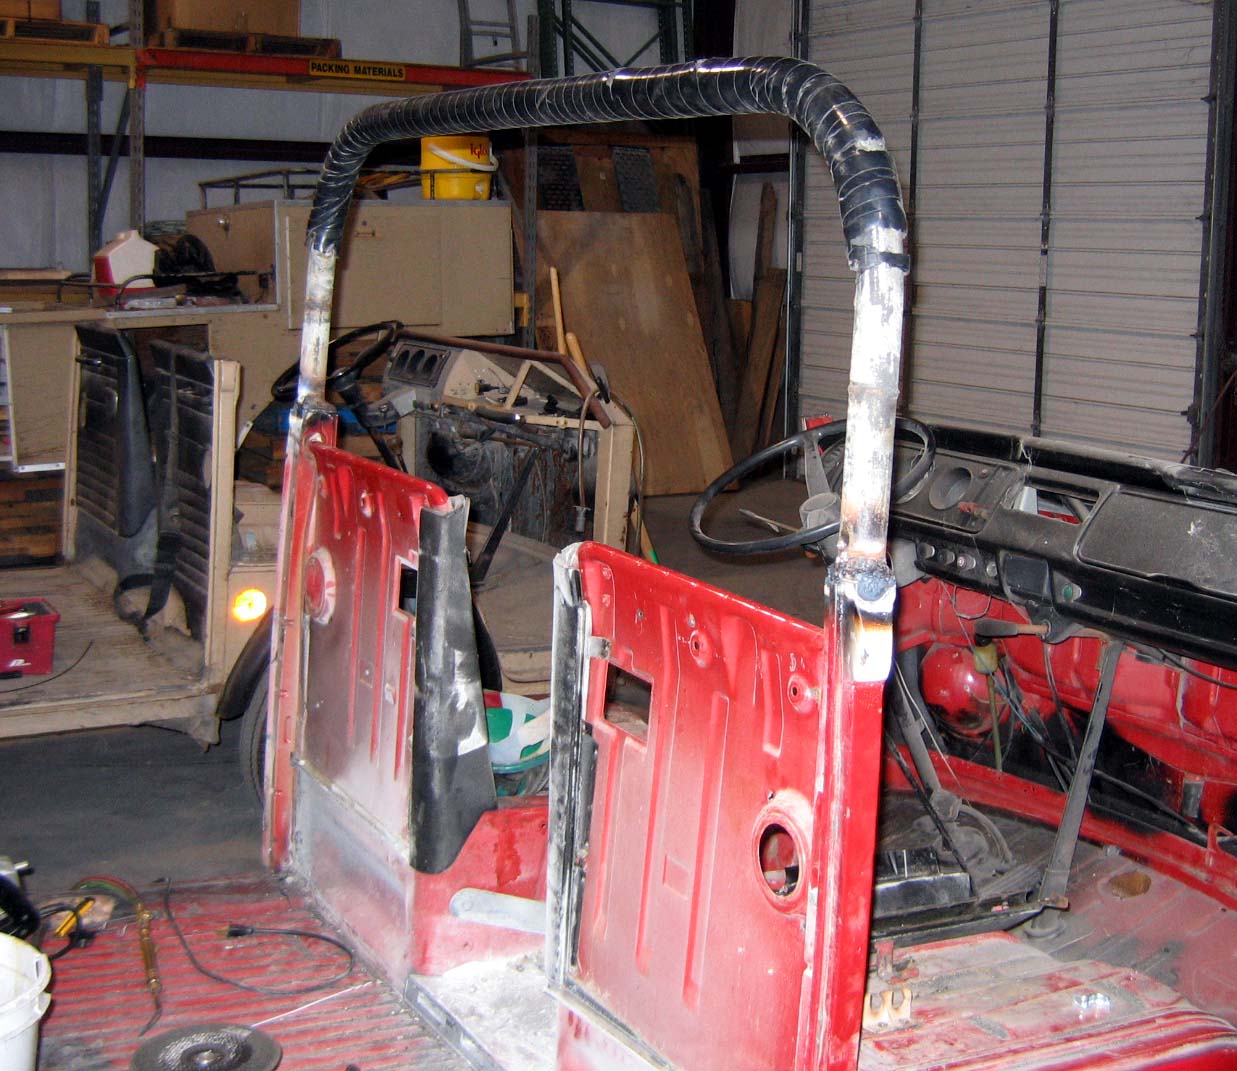
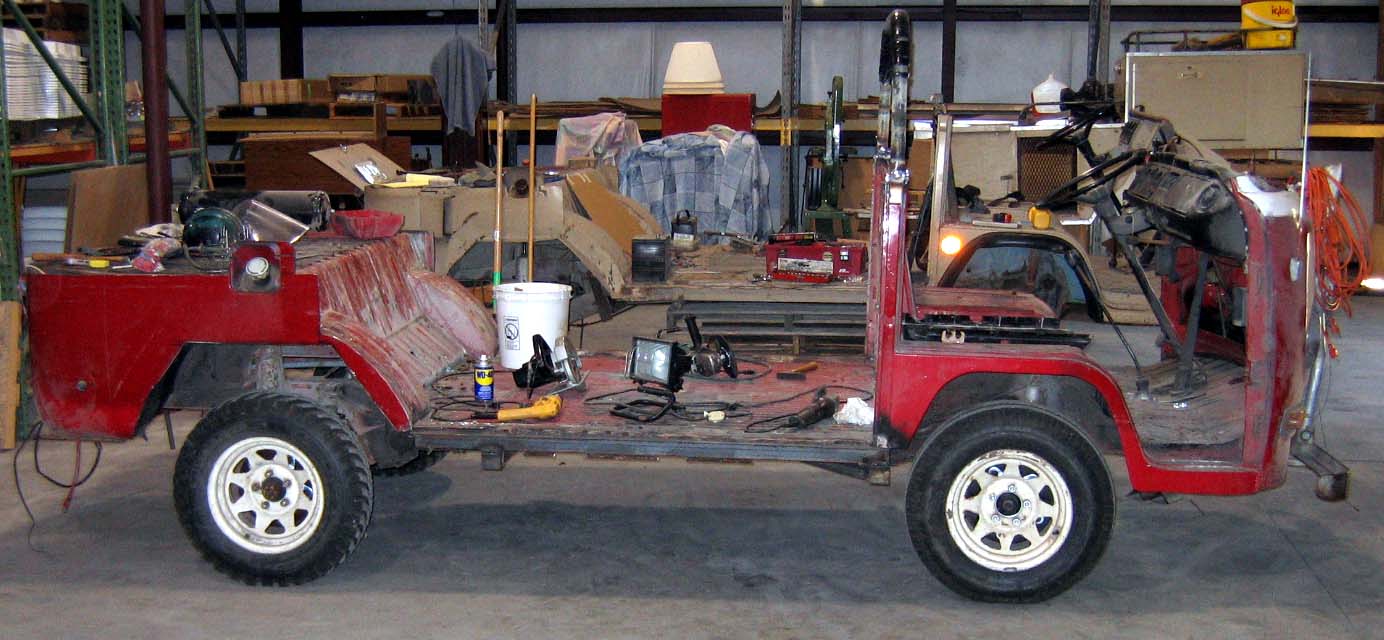
QUAILMOBILE PROJECT PHASE 2REBUILD Now that the demolition is complete, it is time to start rebuilding the hunting car. Many of the parts from the old car can be reused on the new one. Here is a picture of the old and new side by side. The wooden box in the background goes on the back of the Quailmobile when complete. It holds the rear seat, dog cages, equipment storage, drinking water for man and dog, ice chest, winch, and the bar (snake bite medicine storage).
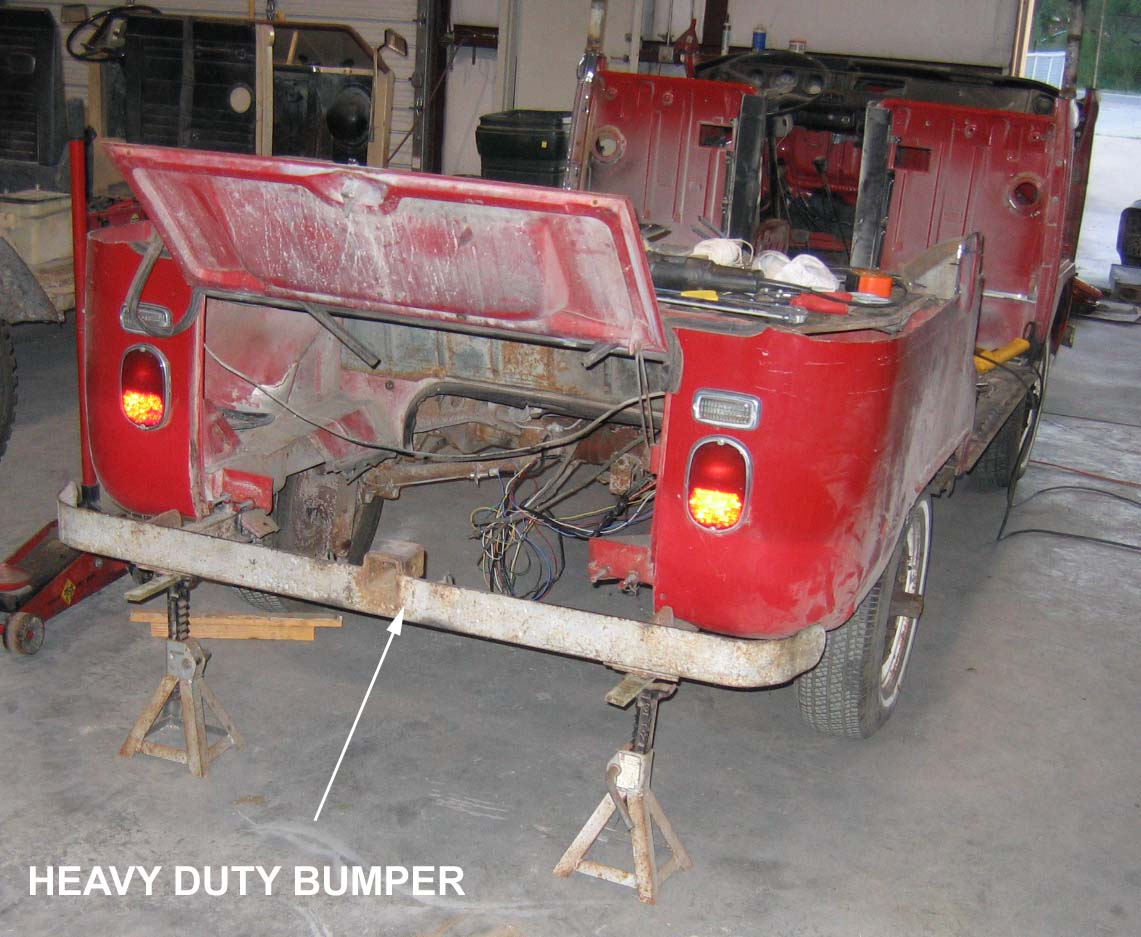
The bumpers are each made of an "I" beam that was cut down the middle long wise. It will knock small brush down with no problem. The rear bumper must be welded in place since it has a 2 inch receiver hitch for the winch. When the winch pulls the Quailmobile out of mud or sand, the bumper must withstand a tremendous amount of strain.
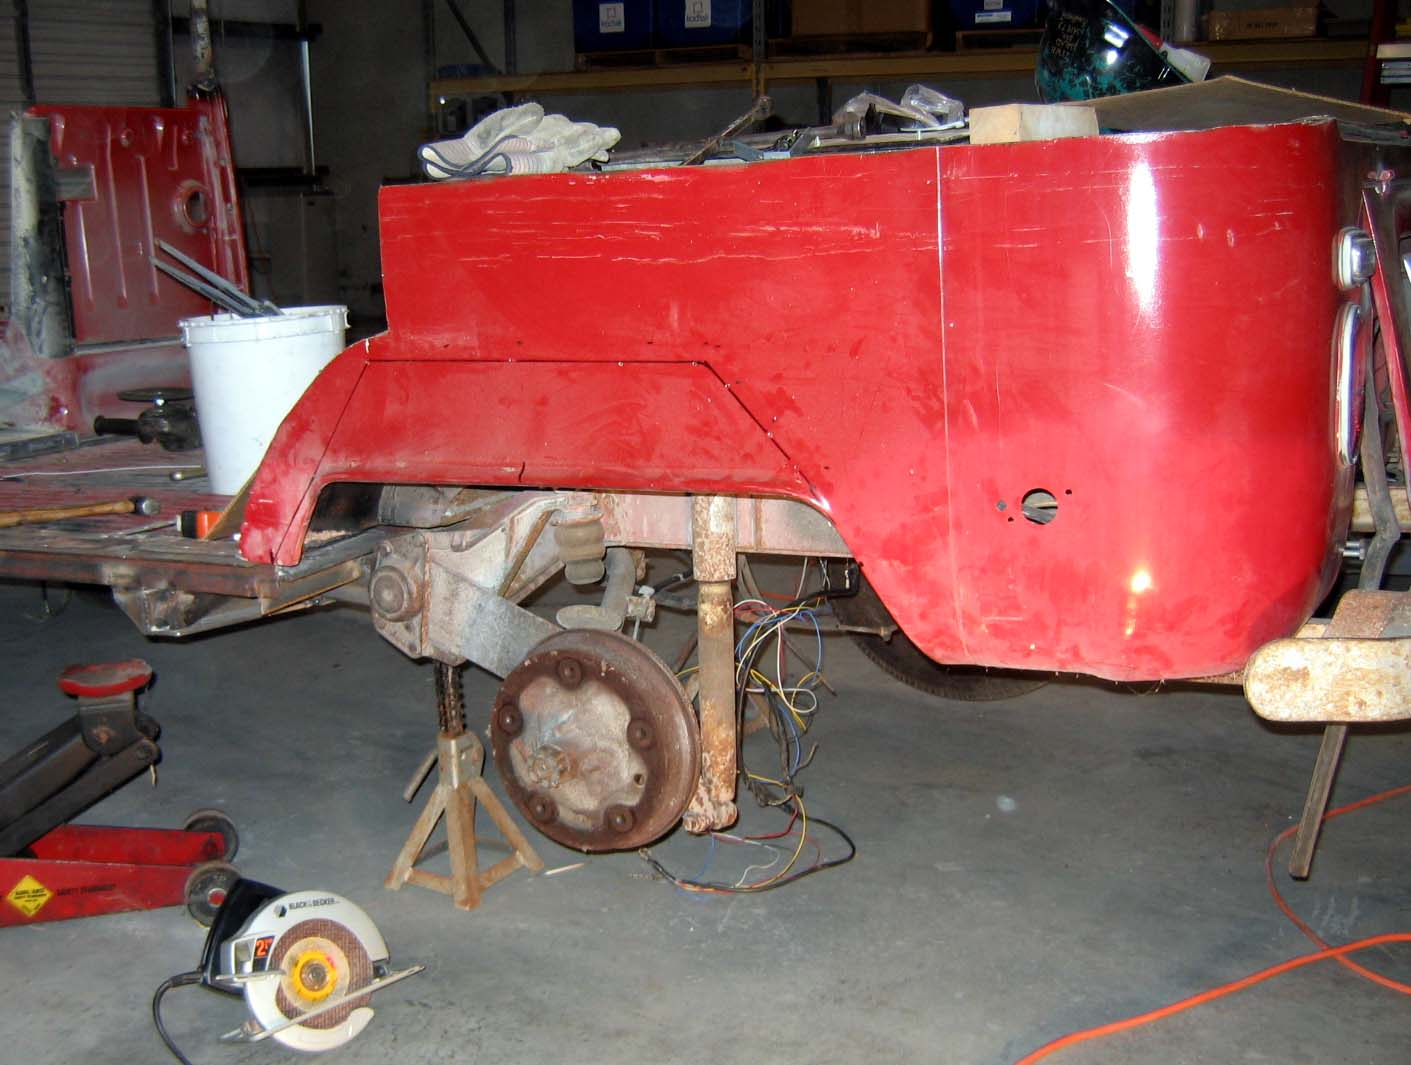
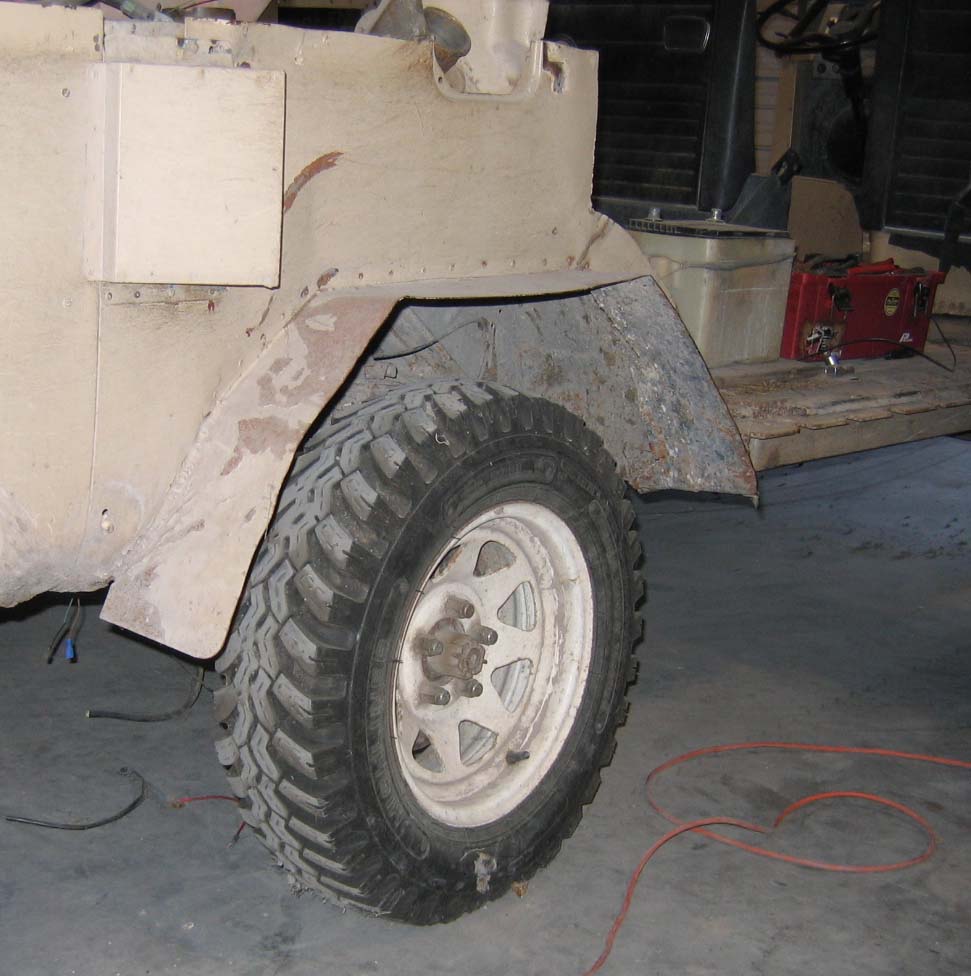
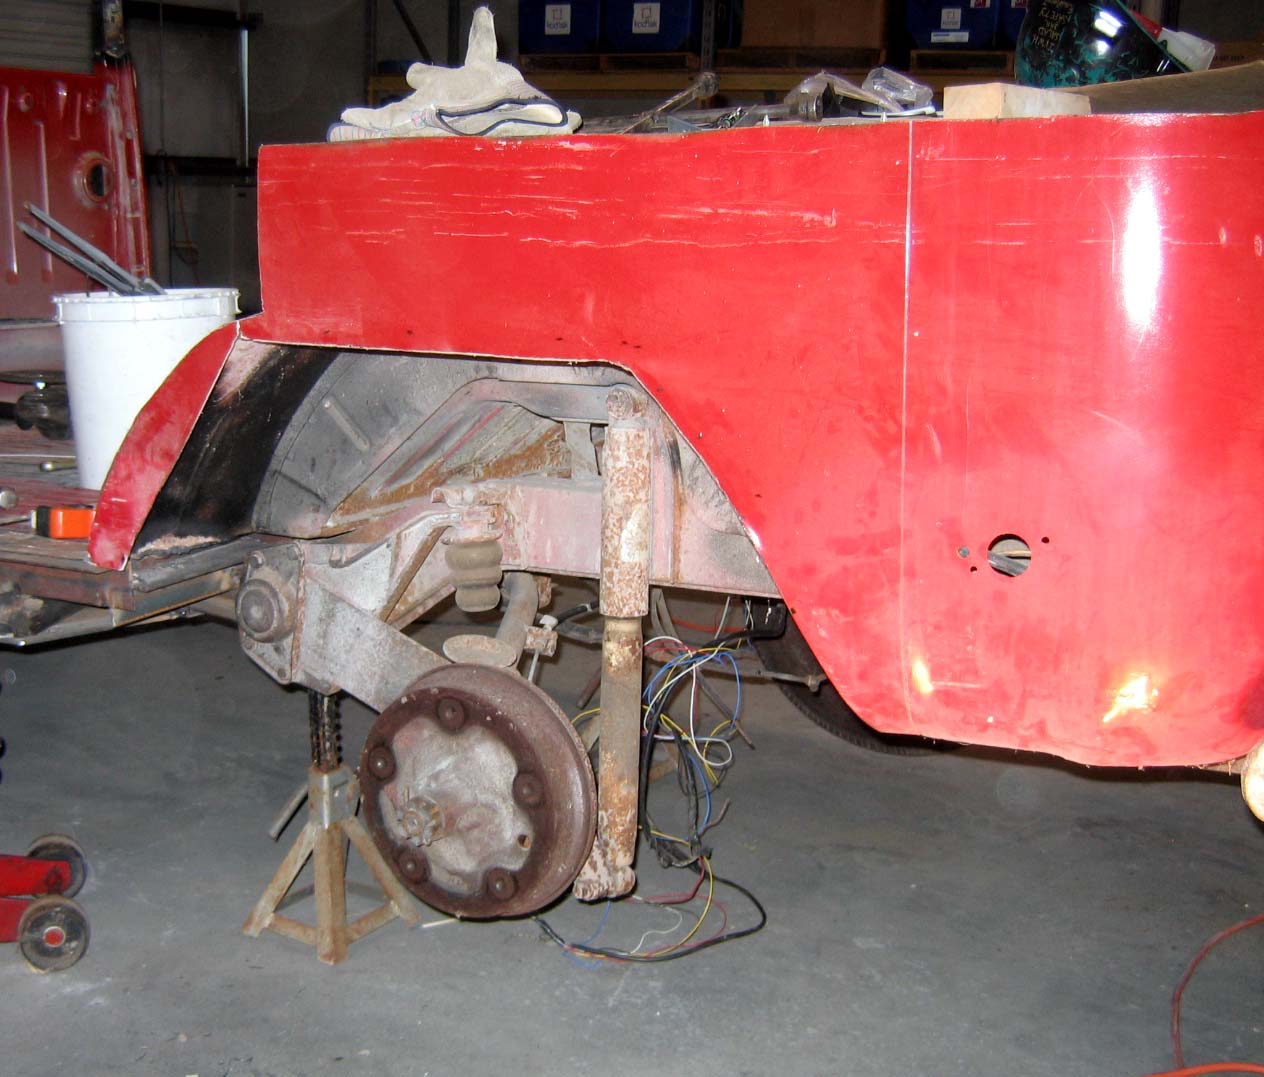
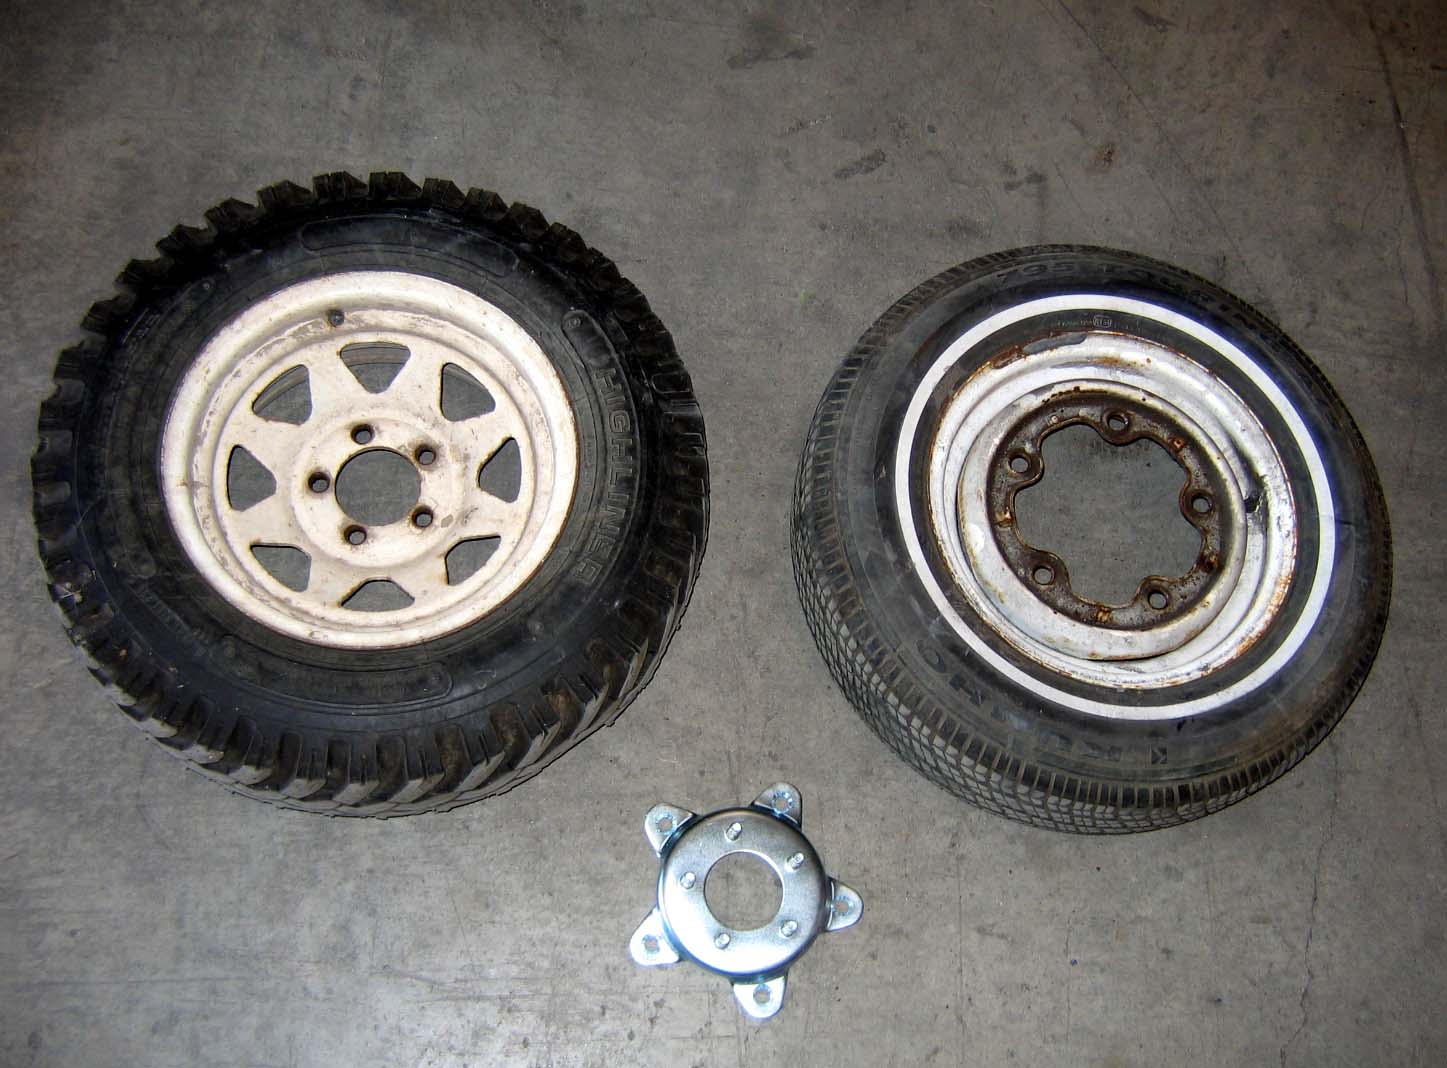
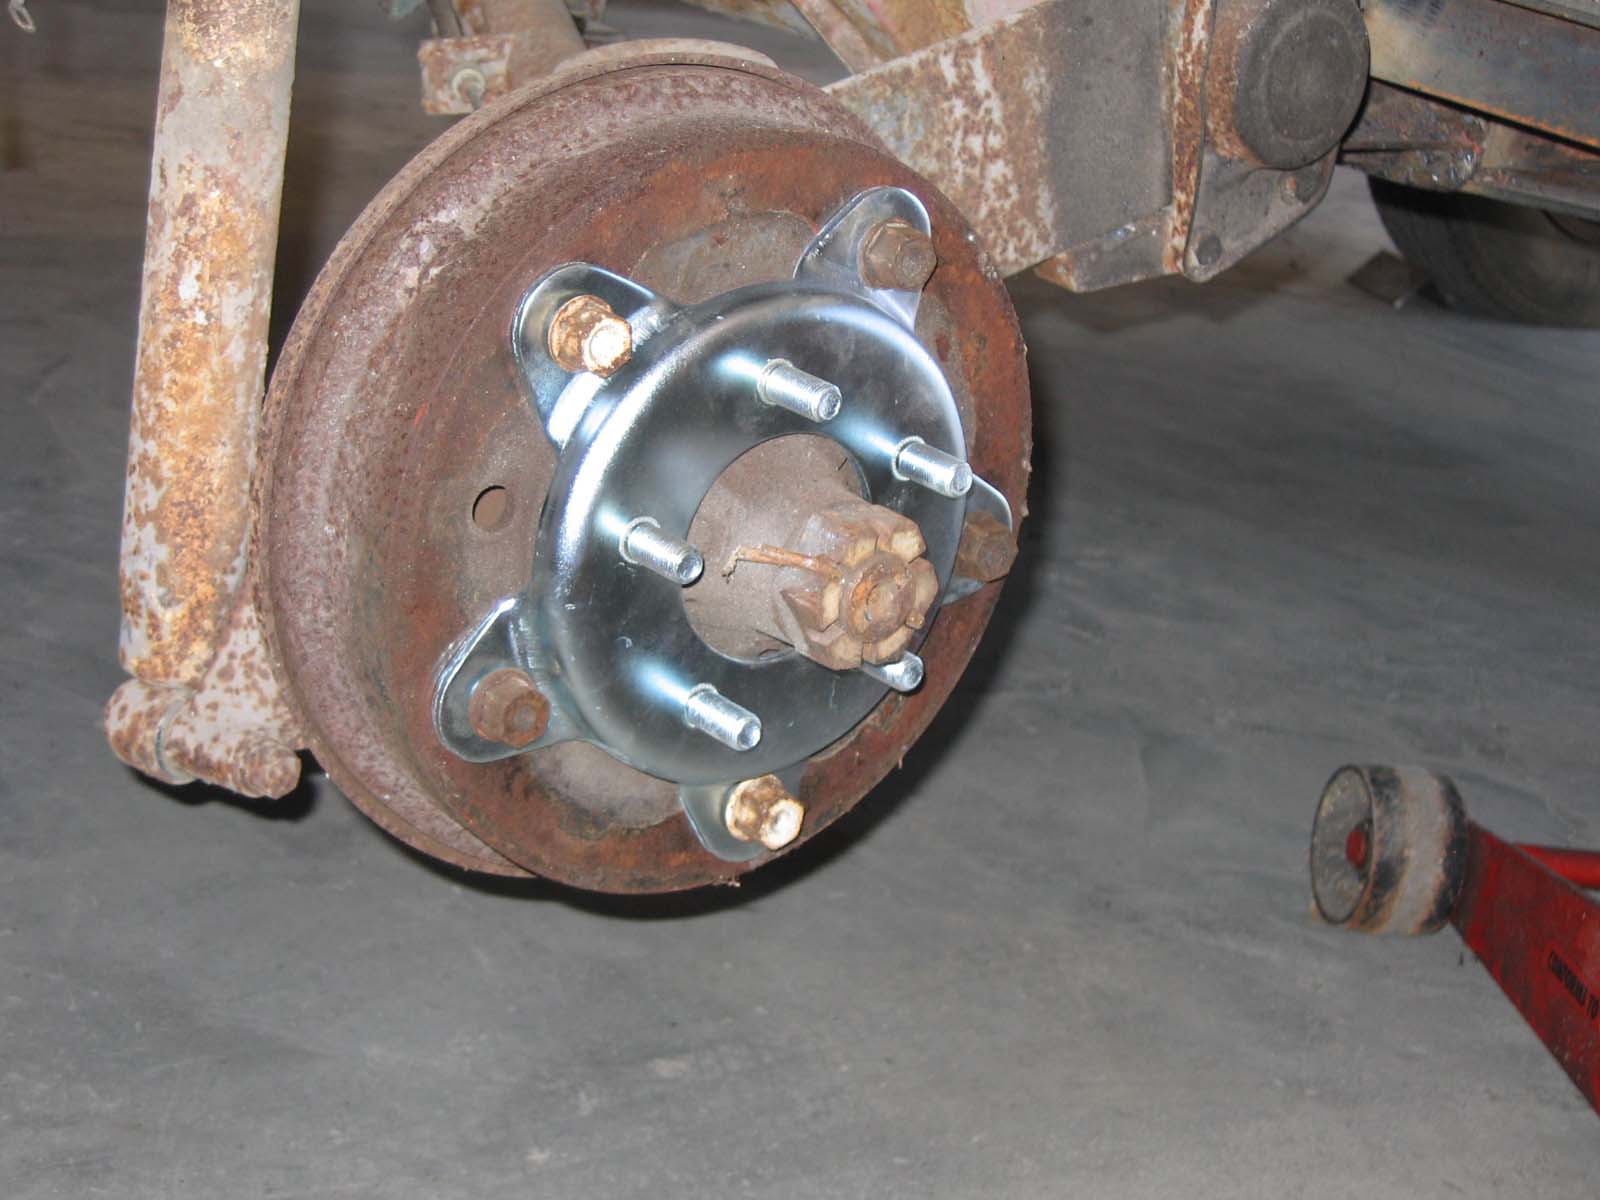
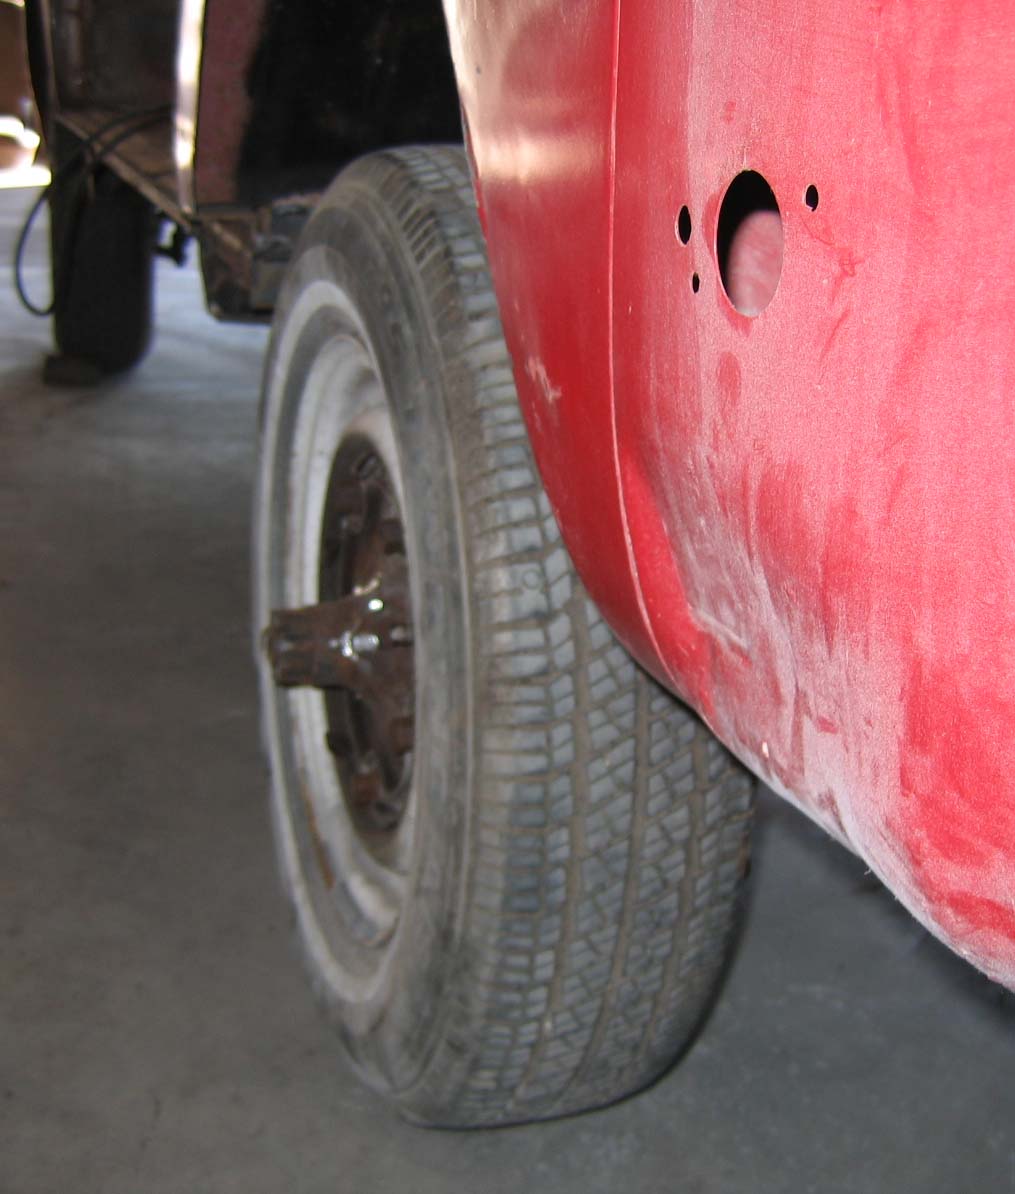
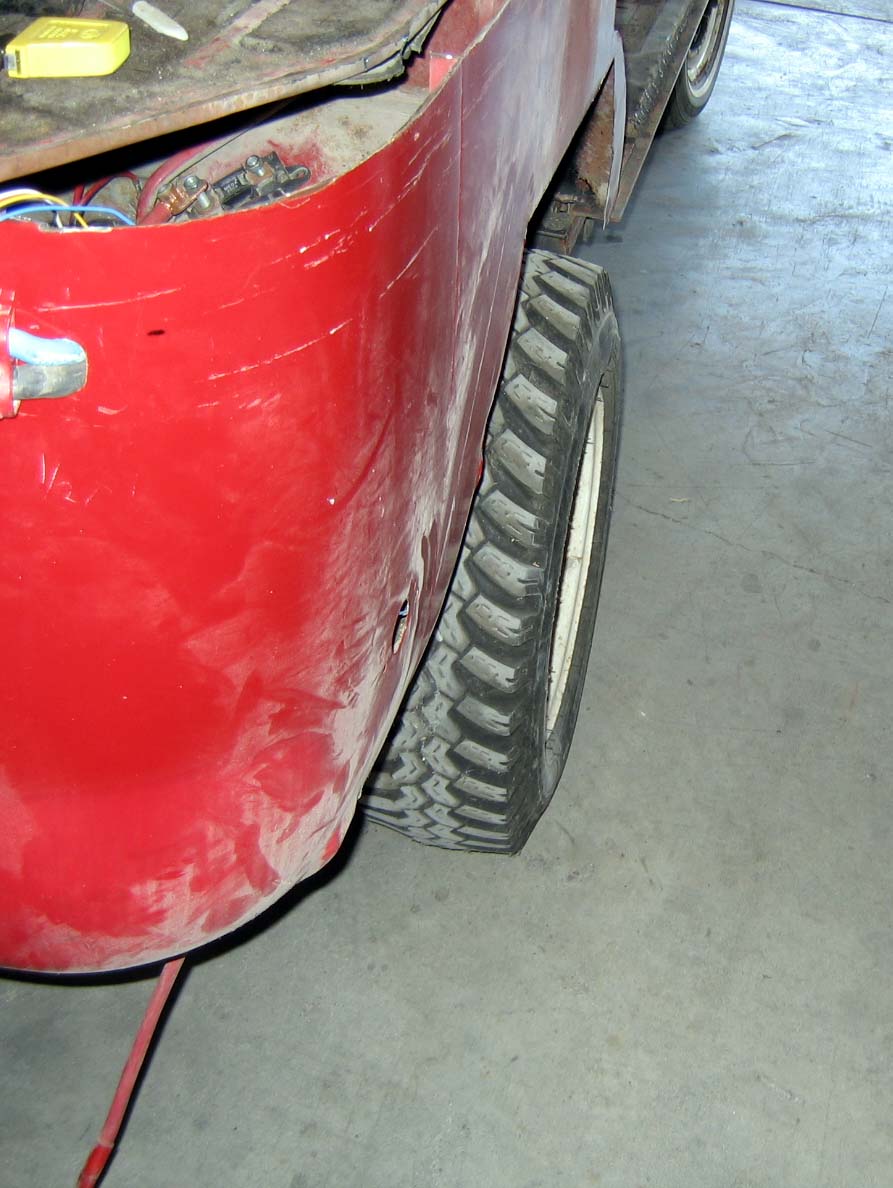
The tires for a VW bus are narrow. A hunting car needs wider tires and an aggressive tread for mud and sand. It is difficult to get this type of tire for a VW wheel so adapters are used to convert to a five hole, 4 1/2 inch diameter bolt pattern (Ford). This is done by bolting adapters on the VW drums for the larger tires. The rear wheel well must be cut out to accommodate the larger, wider tire.
Next we put on the wheel adapter and install the wheels.
These pictures show the comparison of the size and position of the two types of tires. The Ford style rim is larger and the adapter moves it out from the drum somewhat so it is outside the body of the bus.
Finally, the new car has its new "feet" under it and is ready to roll.
The wider, larger wheels necessitate the addition of fenders for the rear wheels
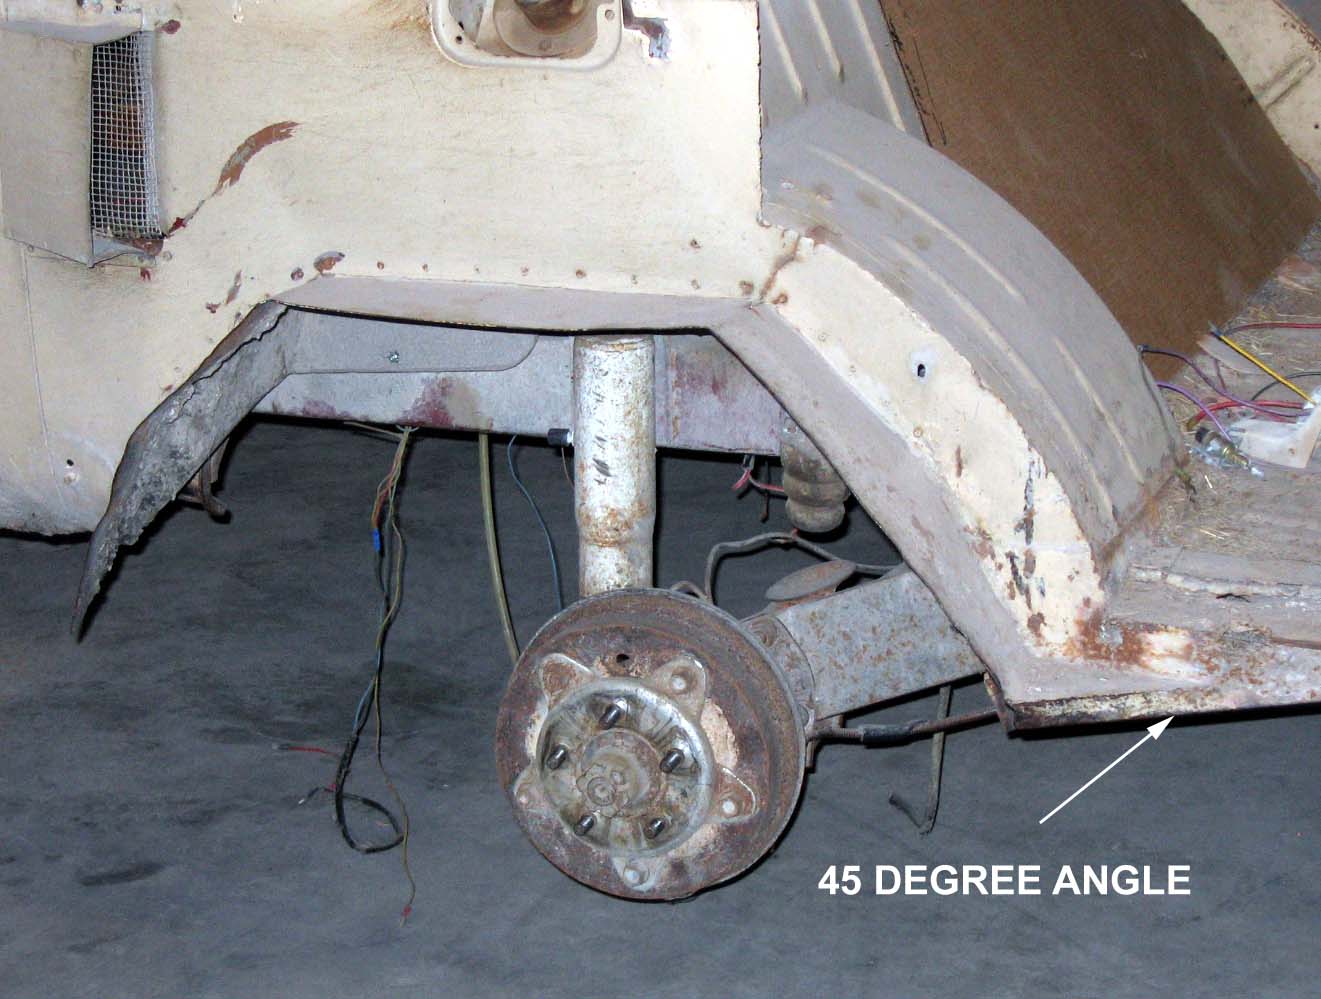
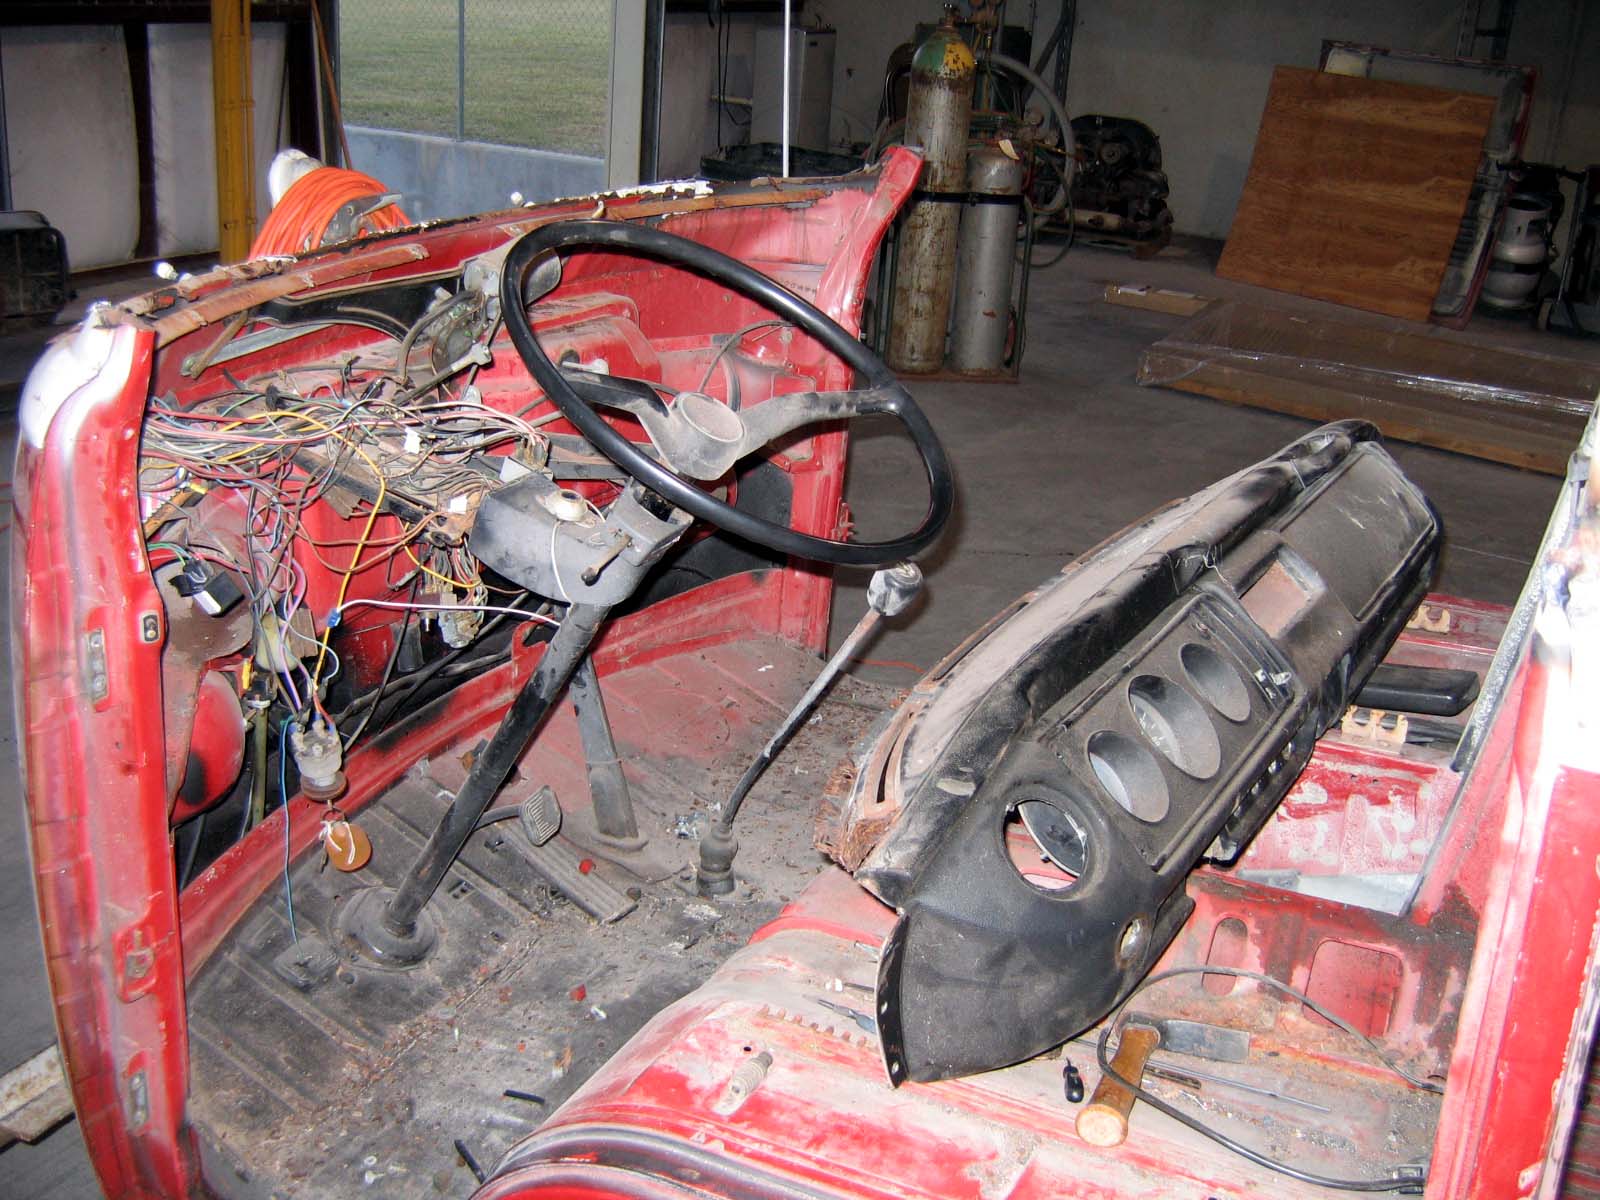
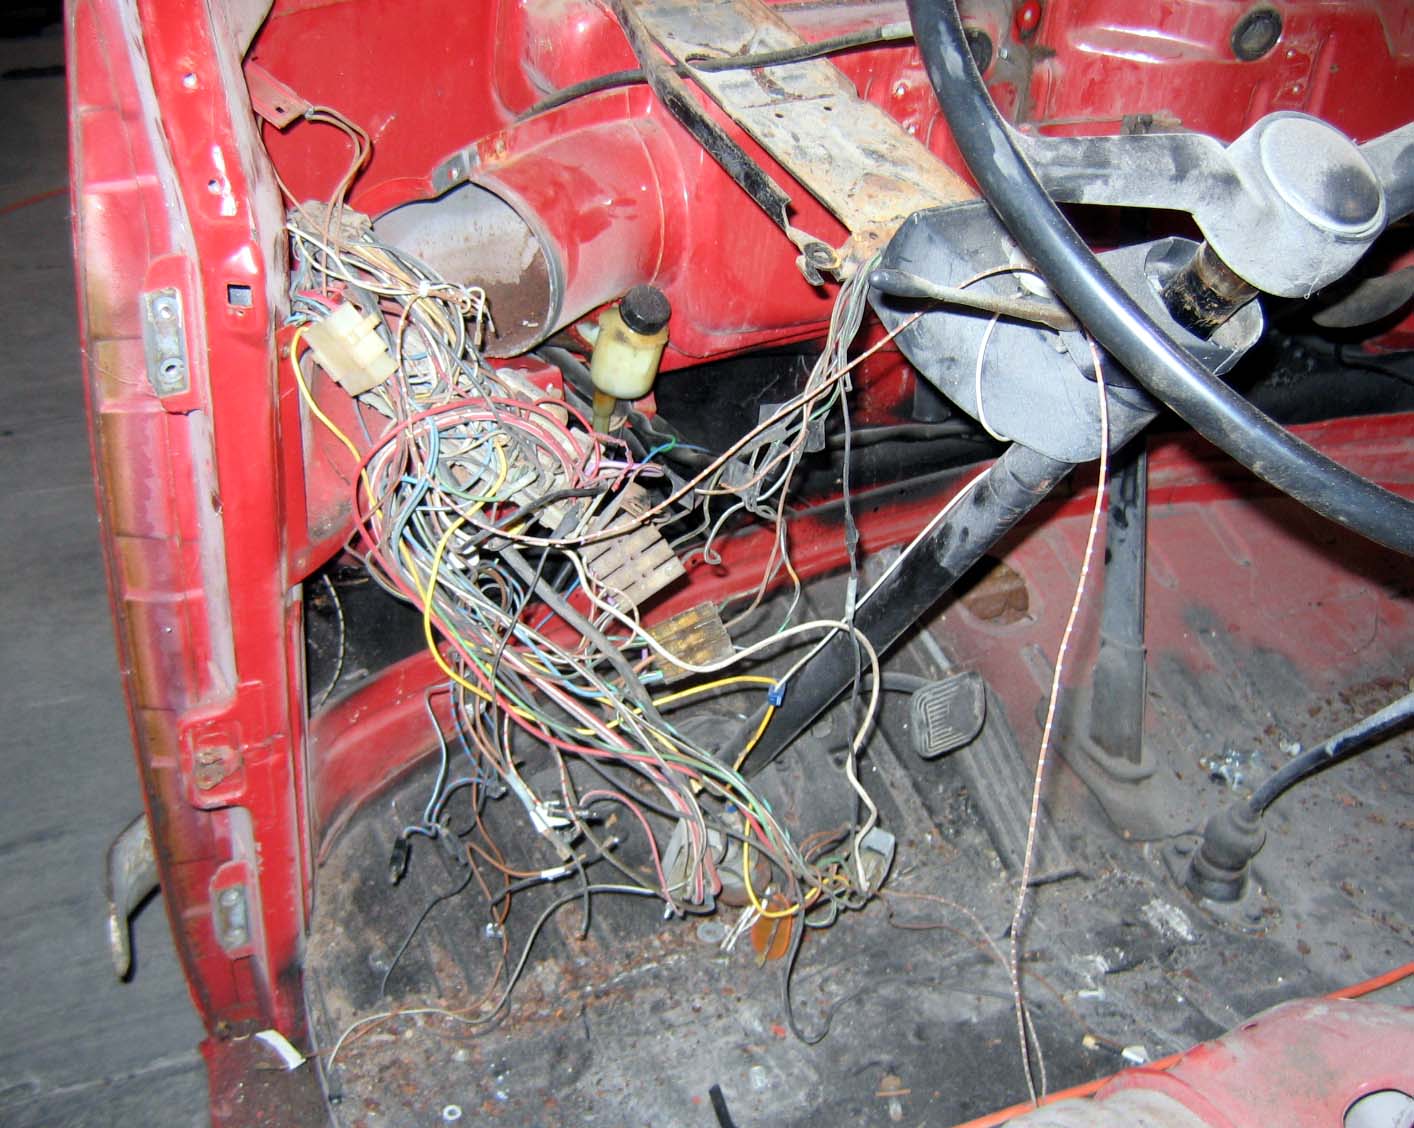
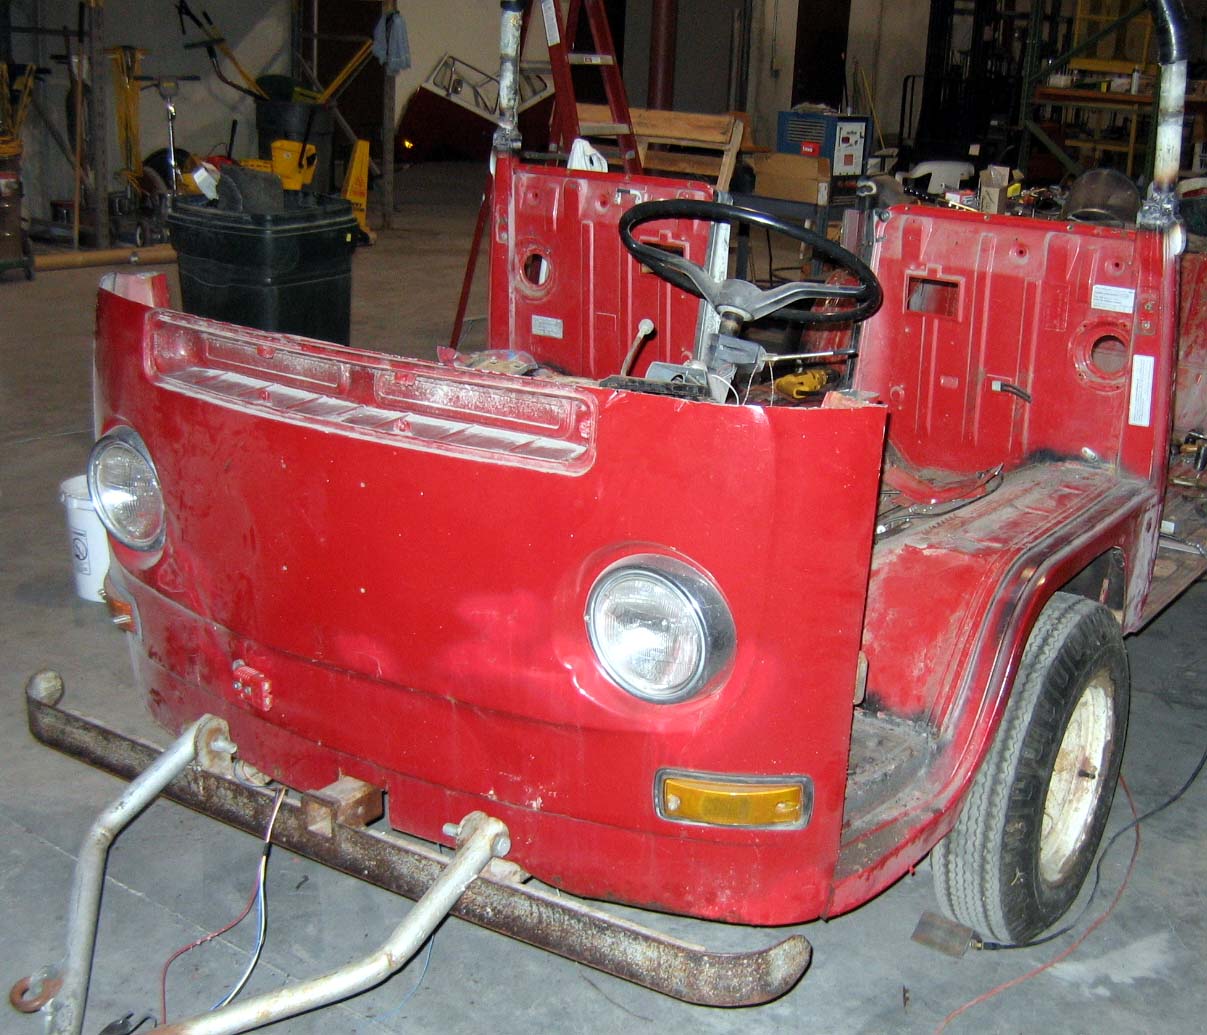
We need to do some work on the front end. Yes, we will figure out where all the wires go when we rebuild it.
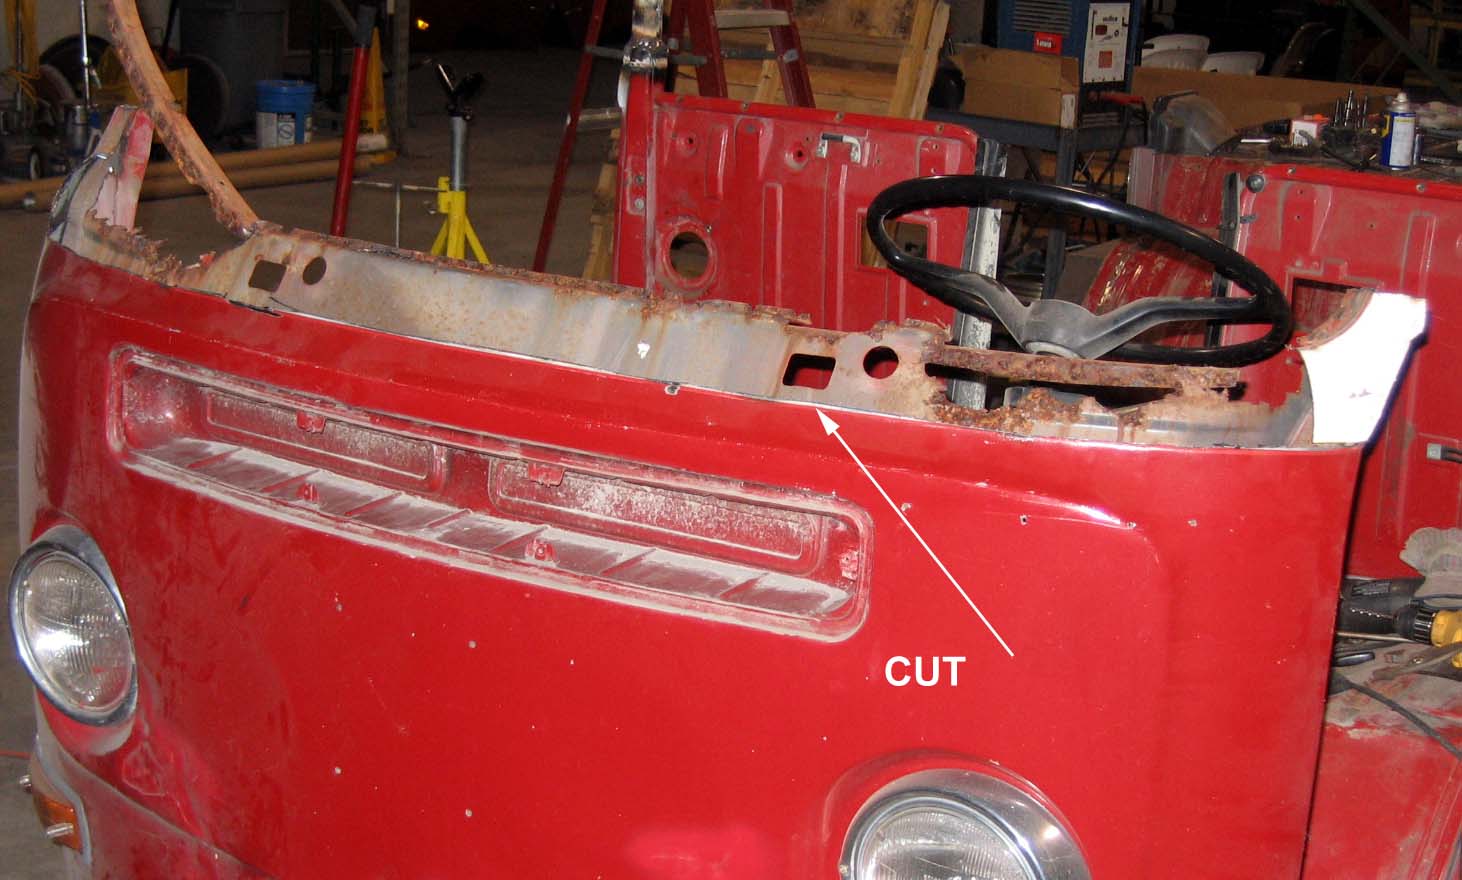
Next we must cut off the rusted parts of the front
|
Copyright 2011 John Howe, Inc.